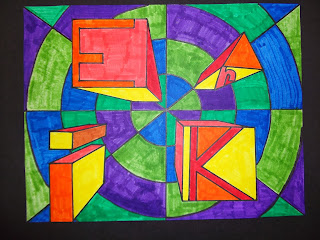
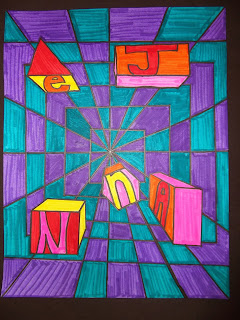
To begin, students study the color wheel. They review the primary and secondary colors. Students learn about "tertiary" or otherwise called "intermediate" colors, which are the mix of a primary and a secondary next to each other on the color wheel. Here is an example of this: Yellow is next to Orange, mixed together, you get yellow-orange. When labeling the tertiary colors, the primary color name always goes first!
Next came the design. Students were allowed to design and balance any twelve shapes they wanted. There are twelve colors on the color wheel, so they needed twelve shapes for theirs. The design could have been realistic, abstract, or non-representational. Then students begin painting. Students learn a lot about brush care, how to keep the painting area clean, and brushstroke techniques to improve neatness. In the first session, they paint yellow, yellow-orange, orange, and red-orange.
In the second session, students finish painting the remaining eight colors. They could choose to have the colors go in order of the color wheel, or to be placed anywhere they want. This session included painting red, red-violet, violet, blue-violet, blue, blue-green, green, and yellow-green.

During the last two sessions, students learn about value in order to decorate the background. Value is how light or dark something is. They practice two drawing techniques that create value called hatching and cross-hatching as a warm up. Then, the background is divided up into shapes. Finally, a balance game challenges students to create a variety of different values in their background. The rules are simple, do not let any two shapes that touch each other have the same value. Starting off each shape is filled with a light value. Then starting from one side or the other, the balance game begins. Adapting as they go, students move across their background making informed decisions about what shape needs what value.
The beginning of the balance game
Part way through the balance game
Finished!


