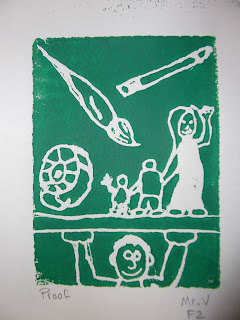
For this project, we began by creating some thumbnail sketches to help plan for our final idea. Making an autobiography cover about yourself can take some time. There are many parts of life one might want to include, so we brainstormed on paper. We thought about what we would want people to know about us by looking at our book cover.
Once we had an idea, or combination of ideas, for the print, we drew the design into our foam surface creating relief. Relief is the process of carving into the surface of anything. The lines that are carved in the surface remain white in the printing process. All the flat area remaining takes on the color. The print is a mirror image of the plate.
Next, we learned the process to create a quality print (load brayer, ink plate surface, center it on printing paper, rub, peel it off carefully, write name on bottom right, and write proof on bottom left). Students were given time to create multiple prints. Being able to print the same picture multiple times is one of the attractive parts of printmaking compared to other medias. All the prints are "proofs", or ways of testing that the relief lines printed well and testing different colors.


