"Spring's Rebirth"

"Spring's Rebirth"
"Spring's Rebirth" 18"x30" Acrylic on Canvas 2016

Tuesday, May 14, 2013

Cubist Self-Portrait

To begin, we "abstracted" ourselves in the style of Cubism.  To abstract, is simply to change reality.  We changed ourselves according to the rules of Cubism: use straight lines and geometric shapes.

Next we added a background.  Any background was acceptable, anything from an outdoor scene to just patterns or design (wherever you wanted yourself to be).

Then we added collage, a very traditional Cubist technique.  We used newspaper, colored construction paper, and fabric.

We used collage in interesting ways by overlapping it and drawing back on top of it.  A color scheme was also an option, but not required (warm and cool used above).

Lastly, to make it more abstract and interesting, we completed it with many media, turning it into a mixed media piece.  We added pencil, colored pencil, oil pastel, and marker.

Tuesday, April 23, 2013

Featured Artists: Autobiography Cover (Printmaking)

Catherine V.


 Jillian R.


Colleen H.


Luke S.


Lauryn R.


Britney N.


Sophie M.


Taylor K.


Nicole T.


Jack F.


Cole H.


Bryce P.


Madison S.


Julia V.


Alyssa H.


Maddie C.


Anthony D.


Jacob U.


Katelyn K.


Ethan M.


Tuesday, April 16, 2013

Ancient Native American Indian Inspired Pinch Pots

 We began with raw clay.  Then we created our pinch pots by wedging the clay to get all the air bubbles out of it and rolled it into a ball. 

We then "pinched" it into the pot shape we wanted.
Next we carved traditional imagery into the wet clay, creating relief.  We carved things like animals, symbols, patterns and natural elements.

Then we glazed the pots using common earth tone colors from ancient tribes (red, brown, black white).


Here are a few examples of some of the finished glazes!


Friday, April 12, 2013

Printmaking: Autobiography Cover

For this project, we began by creating some thumbnail sketches to help plan for our final idea.  Making an autobiography cover about yourself can take some time.  There are many parts of life one might want to include, so we brainstormed on paper.
 
Once we had an idea, or combination of ideas, for the print, we drew the design into our foam surface creating relief.  Relief is the process of carving into the surface of anything.  The lines that are carved in the surface remain white in the printing process.  All the flat area remaining takes on the color.  The print is a mirror image of the plate.
 
Next, we learned the process to create a quality print (load brayer, ink plate surface, center it on printing paper, rub, peel it off carefully, write name on bottom right, and write proof on bottom left).  Students were given time to create multiple prints, one of the attractive parts of printmaking compared to other medias.  All the prints are "proofs", or ways of testing that the relief lines printed well and testing different colors.
 
Lastly, each students picked their best overall print to add a title on.  Student was challenged to come up with a creative title to write in block or bubble letters.  Then to make the title stand our, we used shading to create a variety of values inside the letters.

Wednesday, March 20, 2013

Arts Night at North

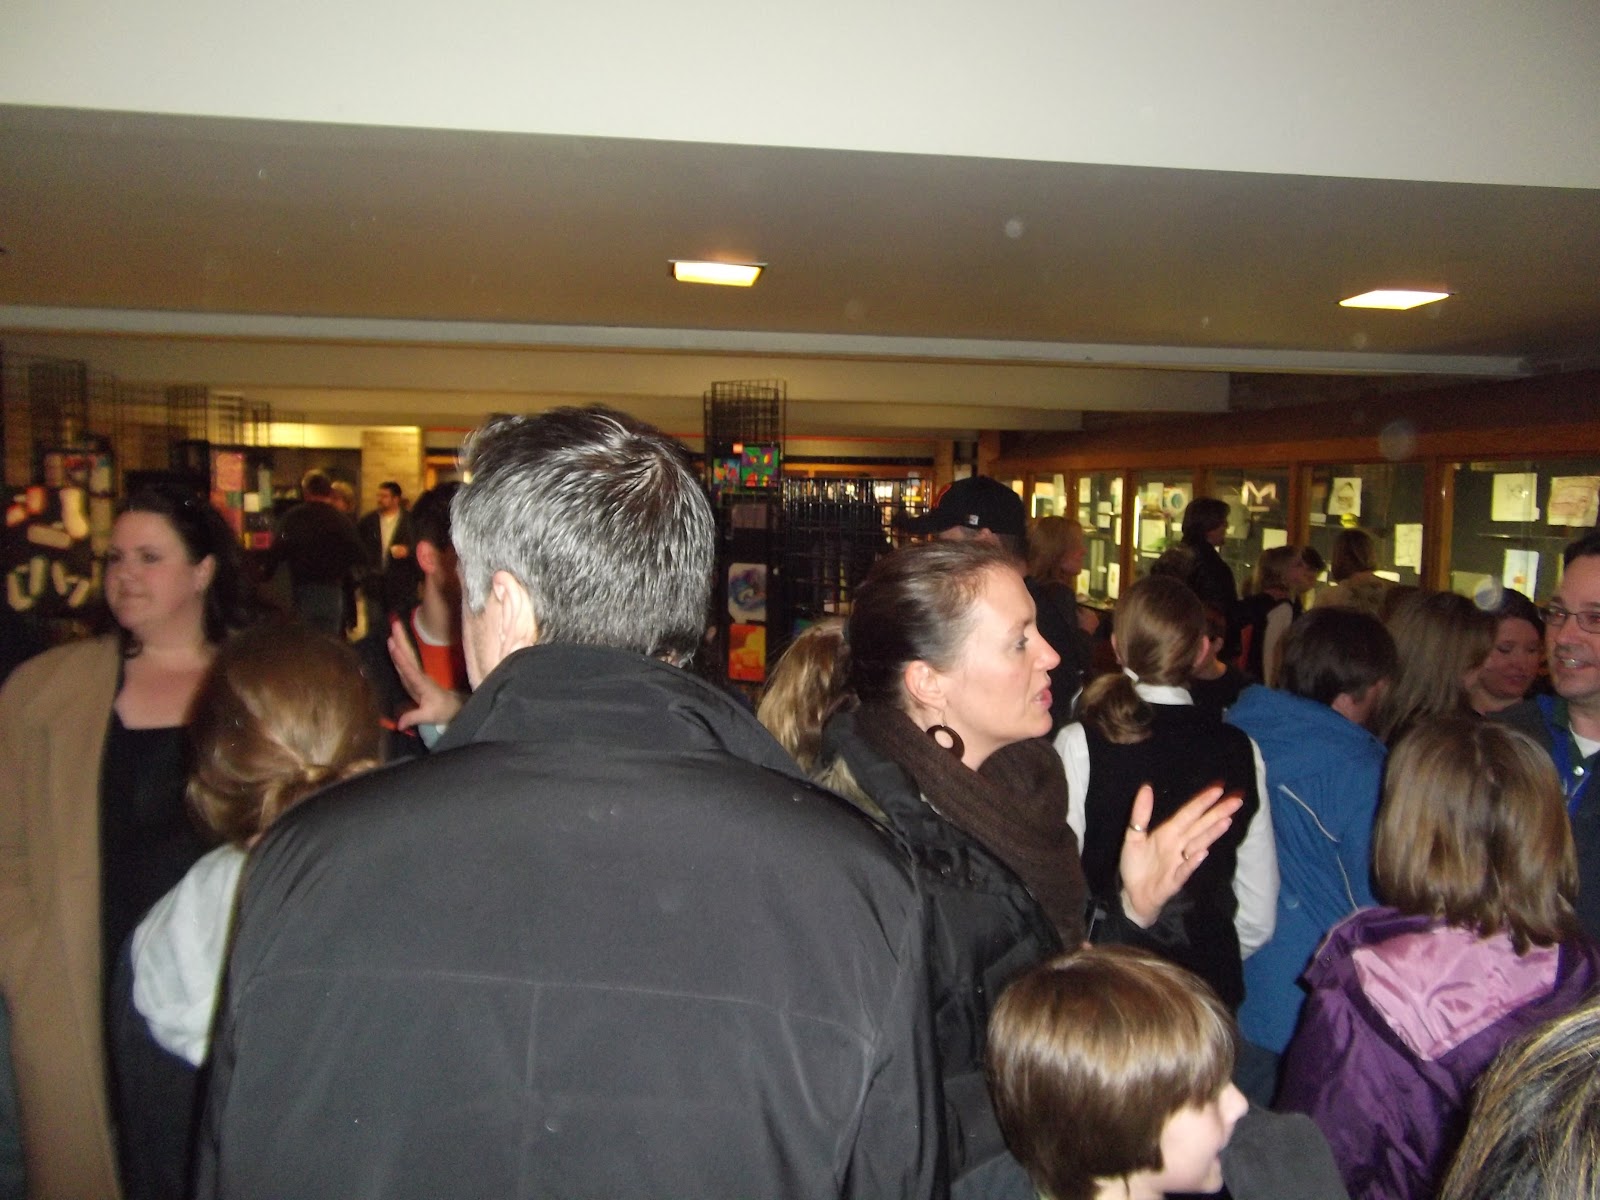
 Arts Night at North was an awesome success!  We had over 600 art pieces on display.  There were countless visitors who came to enjoy the artwork as well as the band, chior, and drama students hard work! 


A huge thank you goes out to everyone who helped put this night together!  Thank you for those of you who came out to enjoy the evening!


Thursday, March 14, 2013

Featured Artists: Radial Color Scheme Vol. 2

 Alissa B.
 
 
 Diana C.
 
 
 Kelly E.
 
 
 Maddie H.
 
 
 Cade B.
 
 
 Jacob S.
 
 
 Amanda R.
 
 
 Keely B.
 
 
 Haley N.
 
 
Jenna H.